Important Tips to Know Before Installing Peel-and-Stick Tiles
Discover essential tips for successfully installing peel-and-stick tiles. Learn about surface prep, measuring accurately, acquiring extra tiles, and selecting suitable spaces for DIY flooring. Perfect for homeowners seeking a cost-effective and easy tiling solution, these insights ensure a professional-looking finish for your remodel project.
Important Tips to Know Before Installing Peel-and-Stick Tiles
Home renovations can be both exciting and overwhelming. From choosing new paint shades to updating furnishings, the process can be both fun and challenging. When it comes to flooring, peel-and-stick tiles are gaining popularity as a quick and affordable alternative to traditional tiles. These self-adhesive tiles are easy to install—simply peel the backing and stick them onto a clean surface, making them ideal for DIY enthusiasts.
Despite some criticism, peel-and-stick tiles are a practical solution when used correctly. Increasingly, homeowners seek budget-friendly options, making these tiles a common choice. Here are some vital factors to consider before proceeding with peel-and-stick flooring:
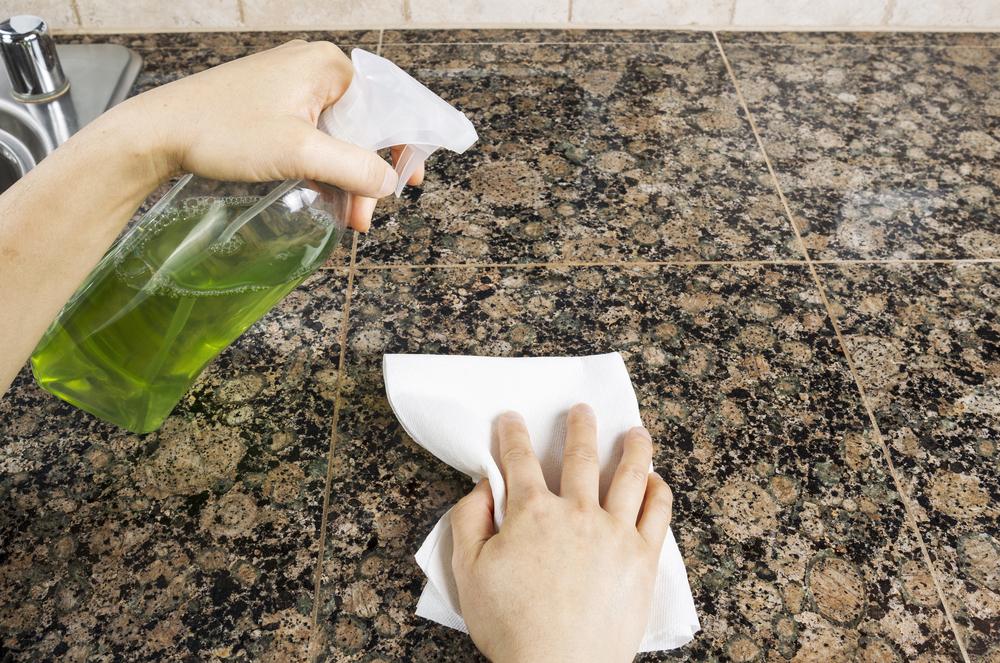
Surface Preparation – Ensure the surface is smooth and even for optimal adhesion. Applying tiles over uneven floors can cause bubbles and an unattractive finish. For best results, stick tiles on clean, smooth concrete or properly prepared surfaces.
Additional Tiles – Always purchase extra tiles beyond your initial estimate to account for mistakes or damaged pieces. Since tiles are sold individually, buying spare tiles minimizes waste and ensures you have enough materials.
Room Dimensions – Measure your space carefully. Peel-and-stick tiles work best in rectangular or square areas, like bedrooms or hallways. Larger, irregularly shaped rooms may require precise cutting, increasing the risk of damage to tiles.
Happy tiling!