Complete Guide to Dryer Maintenance and Troubleshooting
This comprehensive guide offers essential tips for dryer maintenance, troubleshooting common problems, and ensuring safety. From cleaning lint filters and vent systems to checking parts like belts and seals, the article provides practical advice for homeowners to extend their dryer's lifespan. When issues arise beyond DIY solutions, professional assistance is recommended. Regular upkeep and timely repairs can enhance efficiency, prevent hazards, and prolong the appliance's service life, making this a must-read for dryer owners seeking optimal performance.
Complete Guide to Dryer Maintenance and Troubleshooting
Dryers are vital appliances that simplify laundry tasks by quickly drying clothes. To keep them functioning optimally, regular upkeep and prompt repairs are essential. This comprehensive guide offers practical advice for routine care and diagnosing common issues. Whether you're comfortable with DIY repairs or want to prolong your dryer's lifespan, these tips are valuable. Proper maintenance prevents breakdowns, improves efficiency, and extends your appliance’s service life.
Routine Upkeep
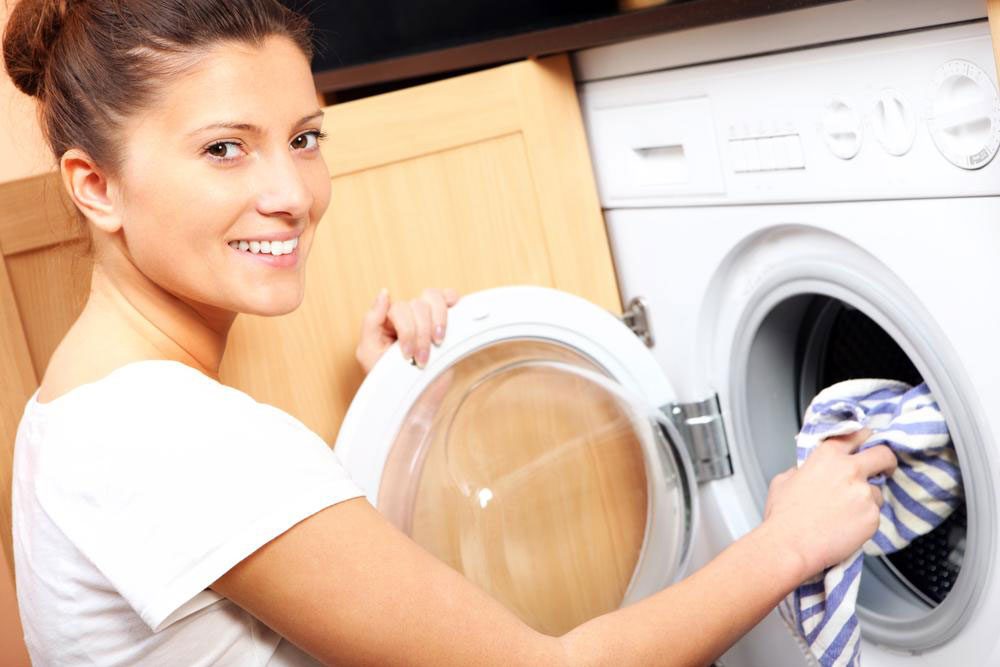
1. Clear the Lint Filter Frequently
Cleaning the lint filter is a simple but crucial step. Excess lint buildup can reduce drying efficiency and increase fire risk.
Follow these steps:
– Before each load: Remove and clean the lint screen.
– Regularly: Wash the lint filter with soap and water to remove fabric softener or detergent residue that traps lint.
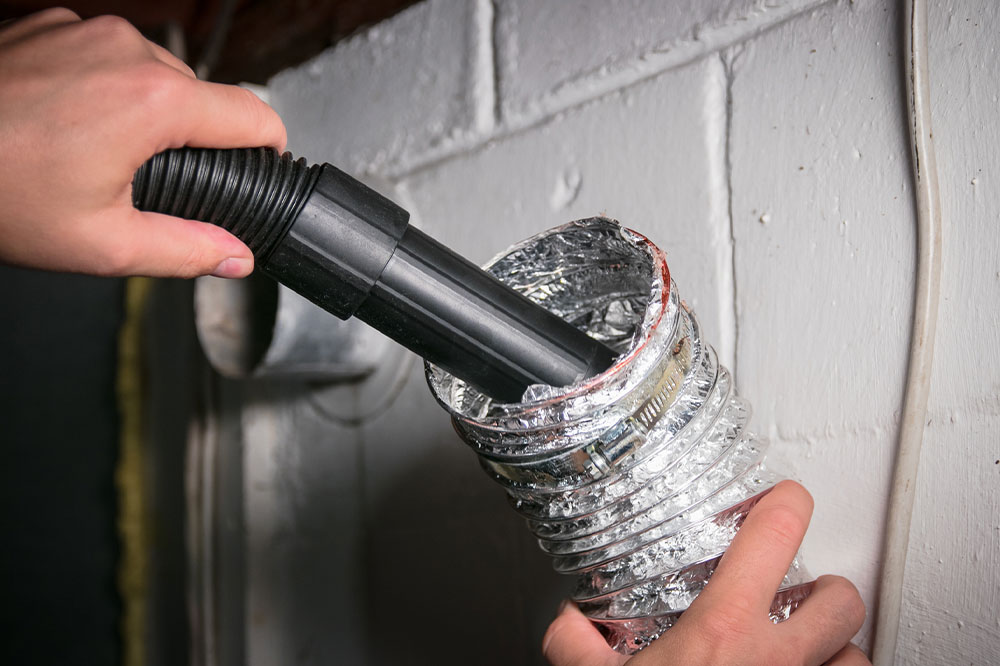
2. Check and Clean the Exhaust Vent
A blocked vent reduces drying efficiency and poses fire hazards. Regular inspection is key:
– Every 3-6 months: Inspect the vent and hose for lint buildup and clear any obstructions.
– Once a year: Consider professional cleaning for a thorough vent system check.
3. Inspect Drum Seals
The drum seals retain heat and prevent clothes from catching between the drum and the body. Look for signs of wear and replace damaged seals to prevent efficiency loss and fabric damage.
4. Check Door Seal (Gasket)
Damaged door gaskets cause heat loss and inefficiency. Regularly inspect and replace if torn or worn.
5. Maintain Drum Lighting
A working light inside the dryer makes loading and unloading easier. Replace defective bulbs following your dryer’s manual instructions.
Common Issues and Solutions
1. Dryer Won’t Turn On
Potential causes include:
– Power supply issues: Confirm the dryer is plugged in and the outlet works.
– Circuit trip: Reset the circuit breaker if tripped.
– Faulty start switch: Test with a multimeter and replace if needed.
– Blown thermal fuse: Check and replace after cleaning vents to prevent overheating.
2. No Heat During Drying
Possible causes:
– Heating components: Test thermostats, thermal cutoff, and heating elements, replacing any faulty parts.
– Gas appliances: Verify the igniter functions properly.
3. Drum Not Rotating
Check for:
– Worn drive belt and replace if damaged.
– Worn drum rollers, which should be replaced if needed.
– Malfunctioning motor, possibly requiring replacement.
4. Unusual Noises
Sounds may indicate issues like:
– Worn drum bearings: Replace if worn.
– Faulty idler pulley: Inspect, lubricate, or replace as necessary.
– Foreign objects: Remove any items like coins or buttons caught in drum or blower wheel.
Safety Tips:
Unplug the dryer before maintenance or repairs.
Consult your user manual for specific instructions.
Use authentic replacement parts to ensure safety and compatibility.
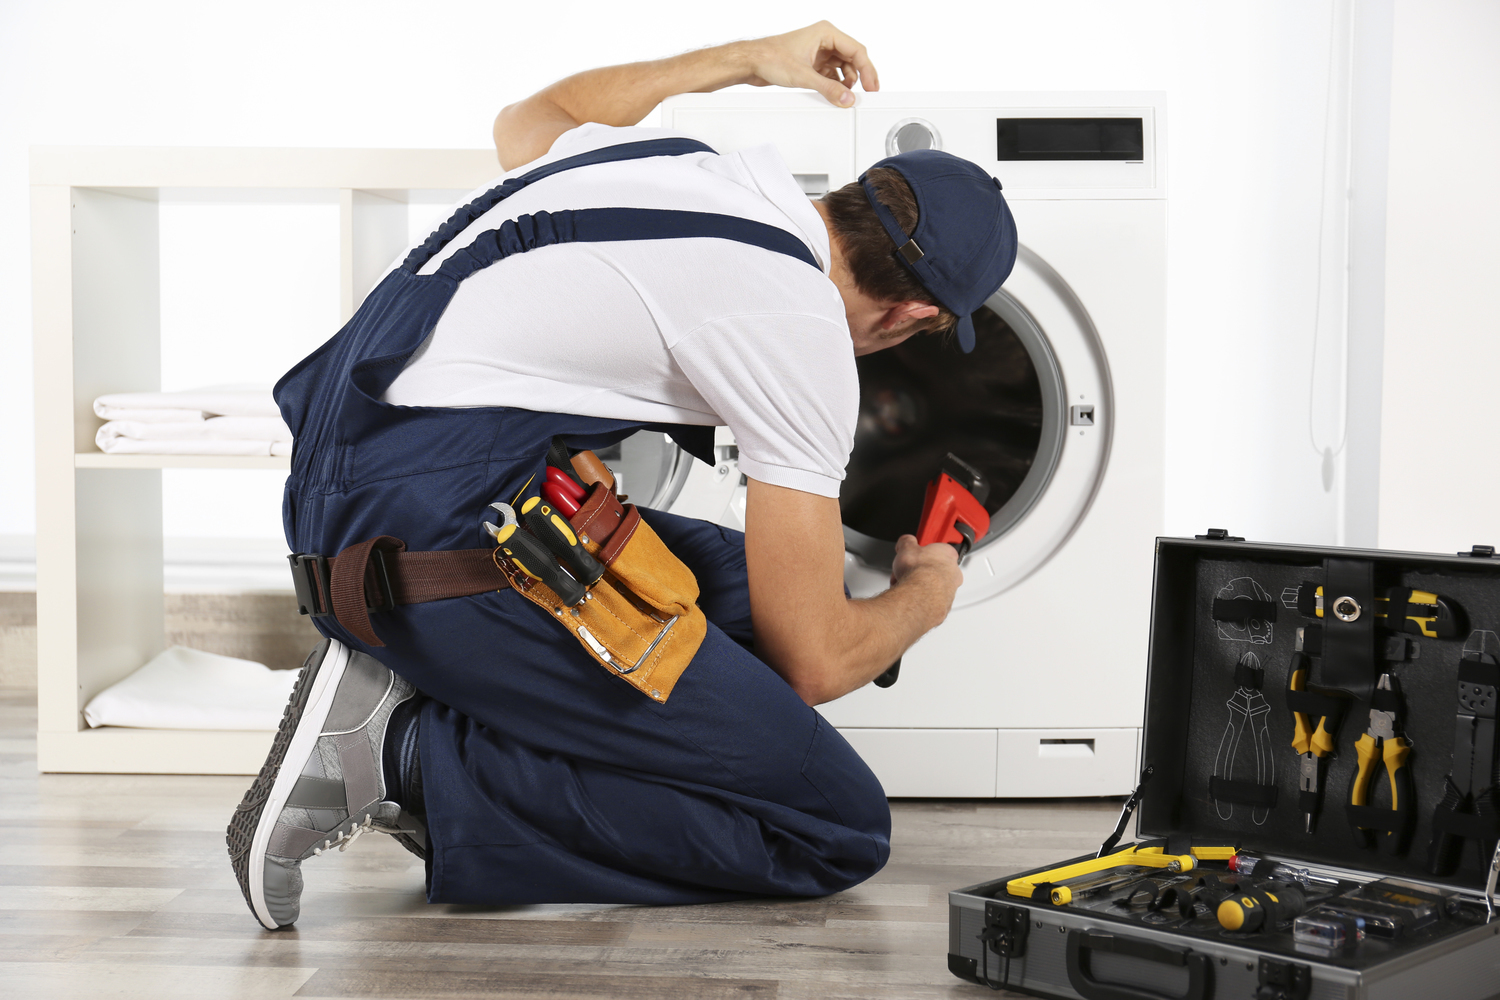
When to Seek Professional Help
If repairs are beyond your expertise or issues persist despite your efforts, contact a certified technician. Regular maintenance and quick action can significantly enhance your dryer's longevity and performance. Follow this guide to keep your dryer running smoothly and avoid costly repairs.