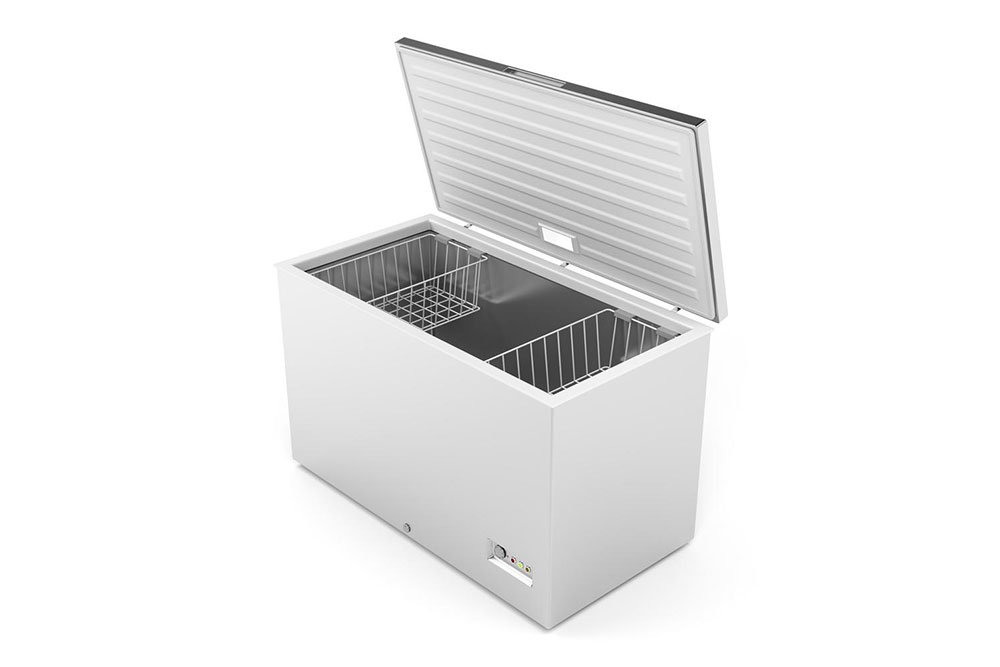
Easy Guide: How to Clean Your Chest Freezer Effectively
Learn how to efficiently clean your chest freezer with these simple, effective steps. Regular maintenance prevents bad odors and keeps your freezer running smoothly. Turn off, remove contents, clean with vinegar or baking soda solution, and reassemble to keep your appliance in top shape. Perfect for ensuring food safety and extending the life of your freezer.

Effective Tips for Maintaining Your Chest Freezer
Simple steps to refresh your chest freezer
Is your chest freezer developing a strange odor or looking messy? Regular cleaning is often overlooked, but keeping it hygienic is crucial for food safety. While not a daily task, periodic cleaning ensures your freezer remains efficient and odor-free. Follow these straightforward steps for a thorough cleaning process.
Step 1
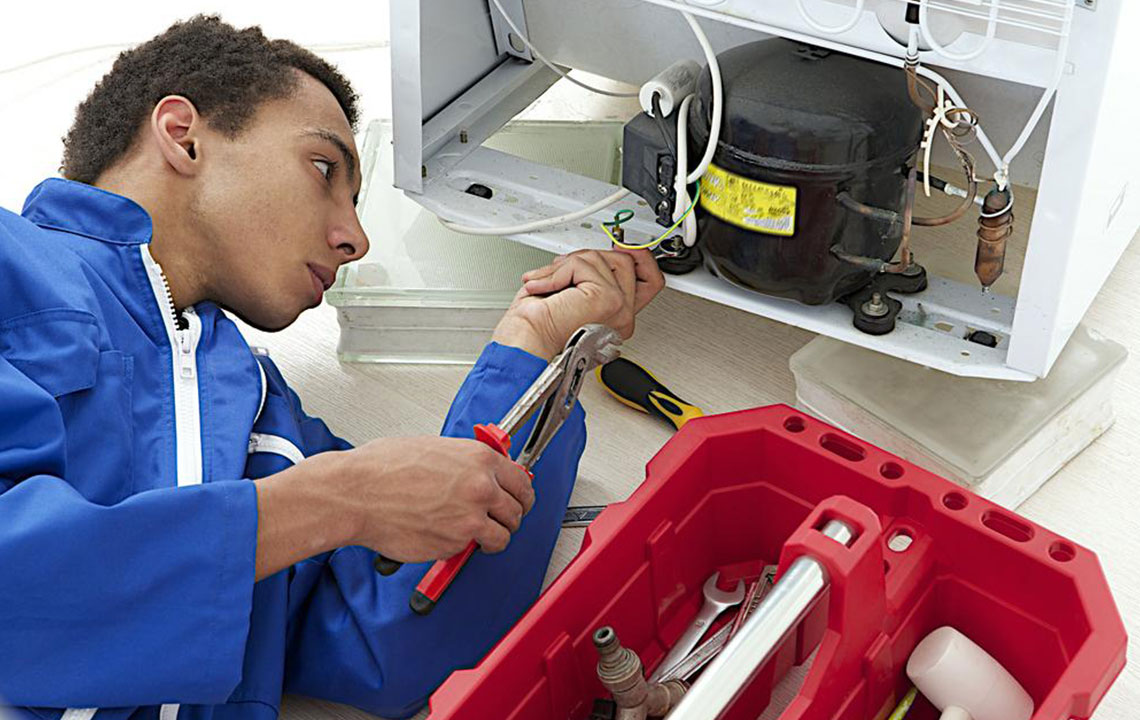
Turn off and unplug the freezer. Wear protective gloves for safety. For defrosting, it’s best to let ice melt naturally or speed up with hot water in a bowl inside the freezer.
Step 2
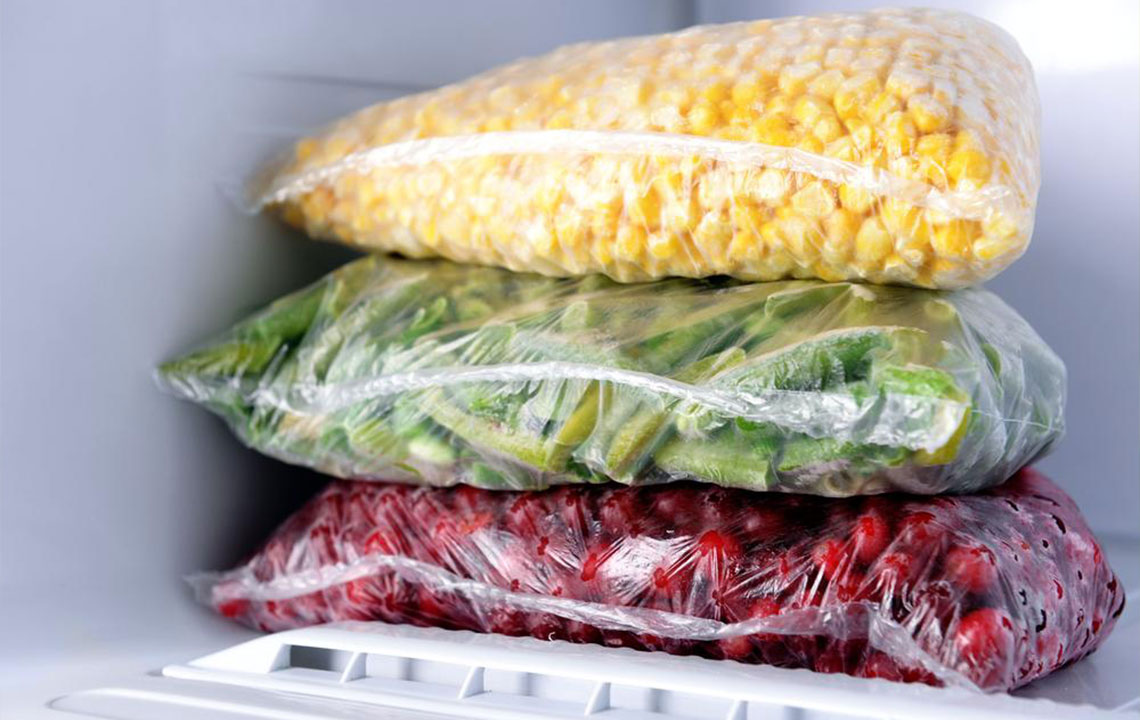
Remove all contents, including ice trays and stored items. Check for expired or forgotten foods and dispose of them. If your freezer is upright, detach shelves and wash them separately in a sink.
Step 3
Prepare a cleaning solution using hot water mixed with vinegar or baking soda. Avoid harsh detergents. Use a sponge or toothbrush to scrub the interior surfaces, including door seals and sides, and wipe dry with a cloth.
Step 4
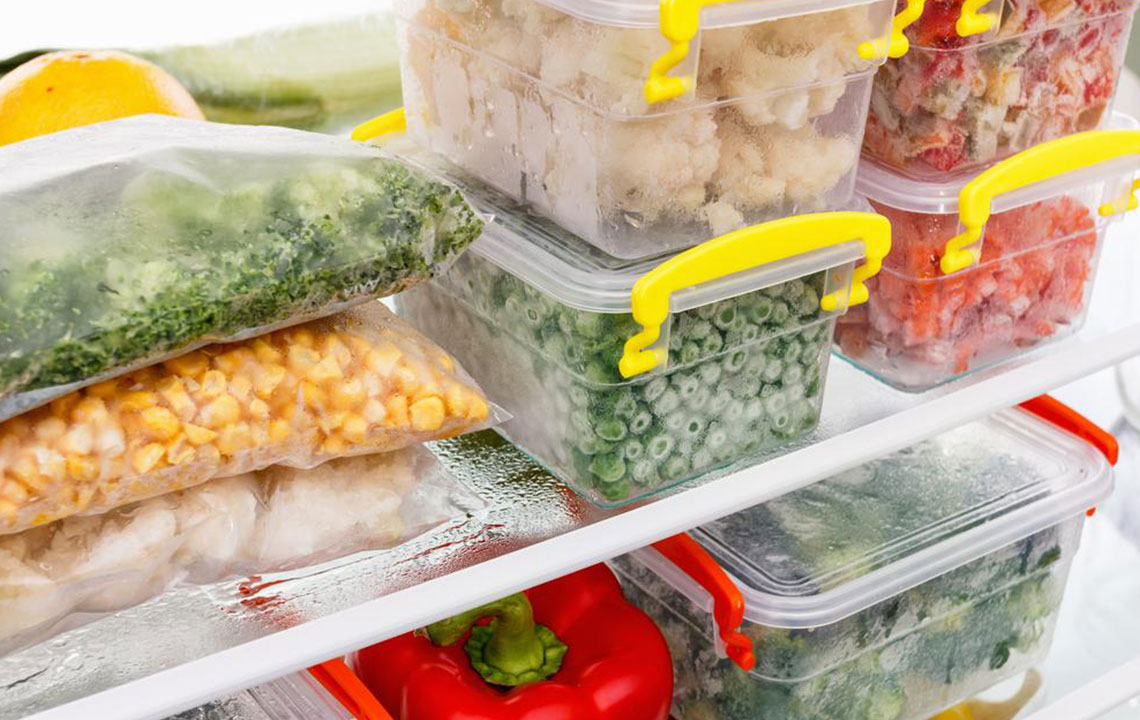
Once everything is dry, reinstall shelves and drawers, then restock your freezer with fresh food.
Following these four simple steps helps maintain your chest freezer in optimal condition for years.
Note:
This article offers practical advice for freezer maintenance. While our tips are based on research, always verify specific cleaning needs for your appliance. We do not assume responsibility for inaccuracies or differences in results. Additionally, promotional offers or schemes may vary and could be more beneficial elsewhere.