Mastering Cricut: A Complete Guide to Getting Started
Learn how to effectively operate your Cricut machine with this comprehensive step-by-step guide. From setting up to cutting various materials, enhance your crafting projects effortlessly. Perfect for beginners eager to explore scrapbooking, DIY decor, and more, this article simplifies Cricut usage to boost your creative potential at home.
Getting Started with Your Cricut Machine
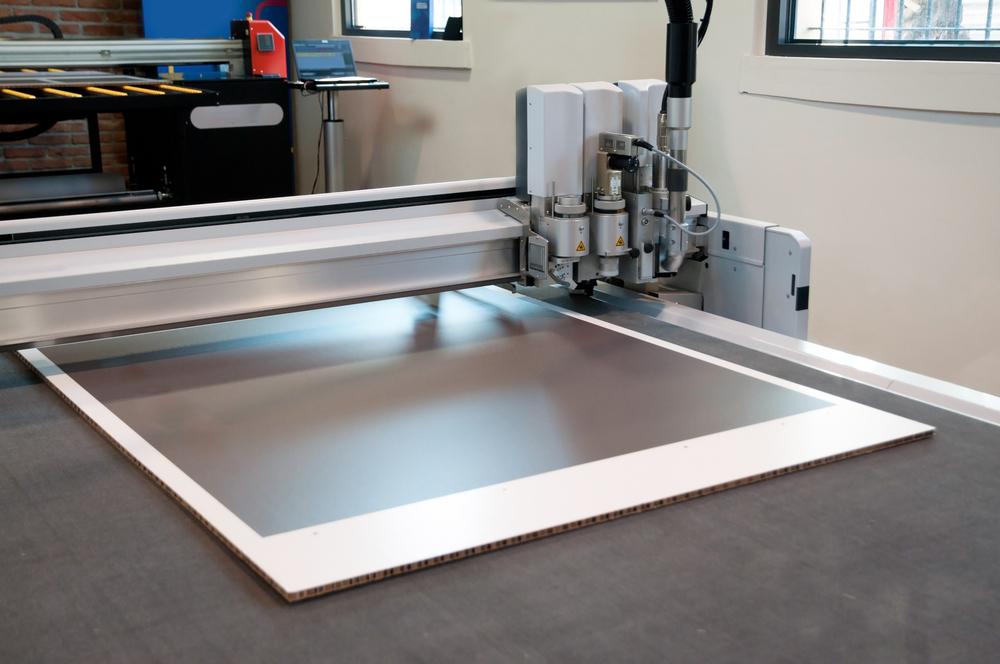
Ready to elevate your crafting game? Whether you're into scrapbooking or adding creative touches to projects, a Cricut machine can be your best companion. Originating from Provo Craft & Novelty, Cricut manufacturing offers versatile die-cutting devices ideal for home use. These machines enable users to cut a variety of materials including paper, fabric, and vinyl, making your crafts more vibrant and detailed.
While Cricut is user-friendly, knowing how to operate it is essential. You'll need a Cricut machine, compatible cartridges, cutting mats, and your material of choice such as cardstock or vinyl. Here’s a step-by-step guide to kickstart your Cricut crafting journey:
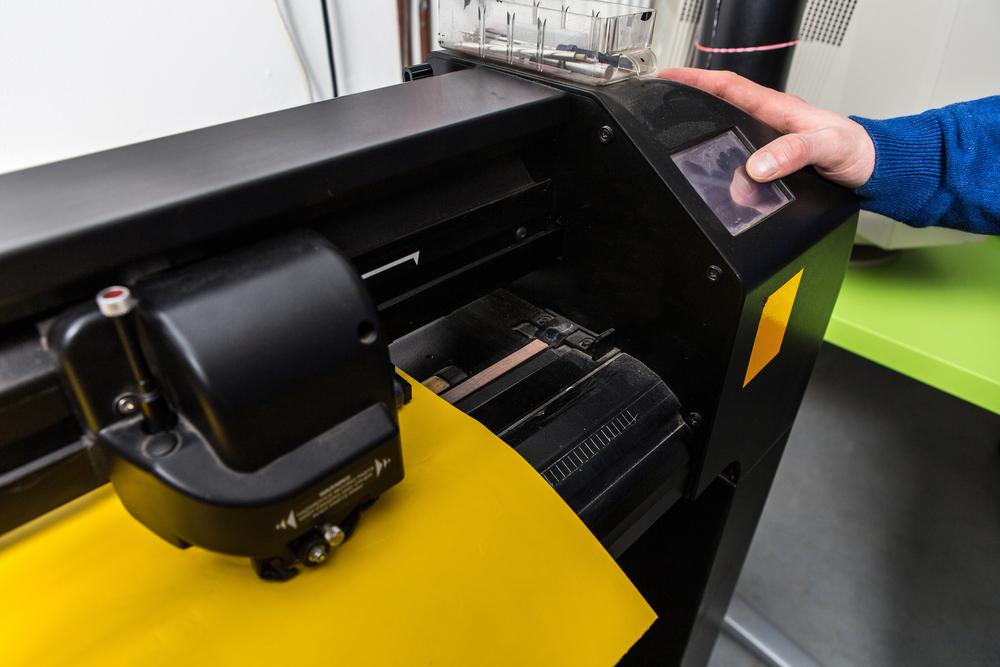
Step 1: Insert your chosen cartridge into the slot. Attach the provided keypad overlay onto the machine’s face for easy navigation.
Step 2: Connect and power on your Cricut device. Place it on a stable, flat surface for optimal performance.
Step 3: Prepare your material, such as paper or vinyl, and securely adhere it to the cutting mat. Load it into the machine's feeder and press 'Load.'
Step 4: Choose your desired cut size via the control interface.
Step 5: Select a design from the available options using the keypad or manual input. You can even set up multiple designs for simultaneous cutting.
Step 6: Confirm your choices and press the 'Cut' button. Sit back and watch your Cricut create precise cuts effortlessly.
Step 7: Once cutting is complete, unload the material. If needed, adjust the blade depth for better precision and repeat.
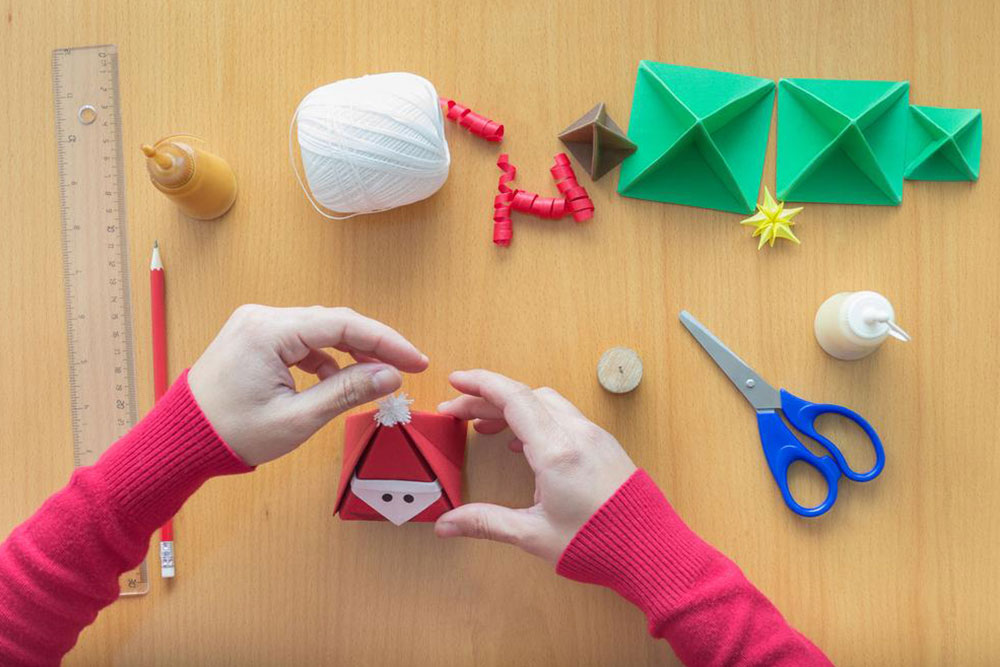
Step 8: Carefully remove your finished design from the mat. For intricate details, a craft knife may assist in clean removal.
Note: Our blog provides diverse, informative content for crafting enthusiasts. Please remember that while we aim to be accurate, some details may vary, and we recommend consulting the user manual or official resources for the most precise instructions. We disclaim responsibility for discrepancies or unused promotional schemes.