Essential Guide to Repotting Your Orchids Carefully
Learn how to repot your orchids properly with this easy-to-follow guide. Discover the signs indicating when your plant needs a new container, how to select the right pot and potting medium, and the step-by-step process for safe repotting. Proper care ensures healthy roots, vibrant blooms, and a thriving orchid. This comprehensive advice helps both beginner and experienced growers maintain their plants' health effectively, promoting beautiful and long-lasting flowers.

Essential Guide to Repotting Your Orchids Carefully
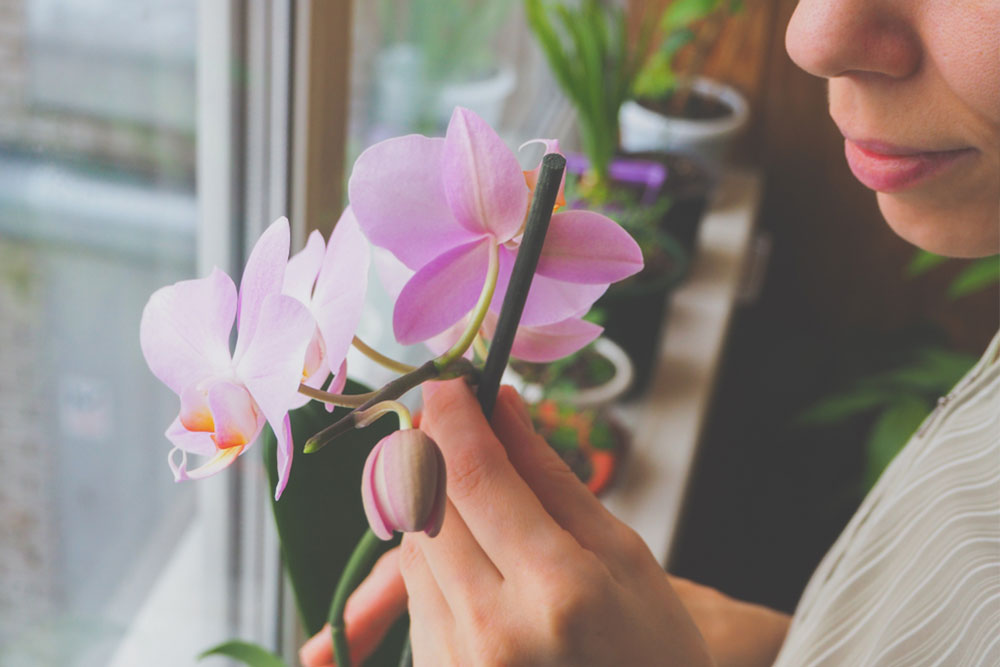
Orchids require proper care to ensure they bloom beautifully and stay healthy. Routine maintenance involves regular attention, similar to other houseplants, often multiple times a day. Knowing when to repot your orchid is crucial for its health and growth. Generally, repotting becomes necessary when the plant outgrows its current container or the potting medium begins to deteriorate, affecting root support and nourishment.
Select a slightly larger pot with drainage holes suited to your orchid's needs. Be mindful of the material—certain orchids prefer specific types of containers. Use a specialized orchid potting mix, soaking it overnight to retain moisture, then drain thoroughly before use. Gently remove the orchid from the old pot, trimming dead or tangled roots. Place it into the new pot, fill with the prepared mix ensuring no air pockets, and position the plant upright. Proper repotting promotes healthy growth and vibrant blooms.
Use suitable pots with drainage
Choose specialized orchid potting medium
Avoid normal soil for orchids
Handle roots with care during repotting
Note: Our blog offers a wide range of practical tips across various topics. While we strive for accuracy, please consider this information as general guidance. We are not responsible for discrepancies or issues arising from the use of this content. Always consult a professional for specific concerns.