Guide to Replacing Garage Door Panels
This comprehensive guide explains how to replace garage door panels safely and efficiently. From ordering the right panels, removing old ones, to installing new panels and testing the door, each step is detailed for homeowners looking to upgrade or repair their garage doors. Ensuring proper fastening and spring placement is emphasized for safety and functionality. The article also offers tips for identifying manufacturers and finding nearby repair services, making it a useful resource for DIY enthusiasts and homeowners alike.
Guide to Replacing Garage Door Panels
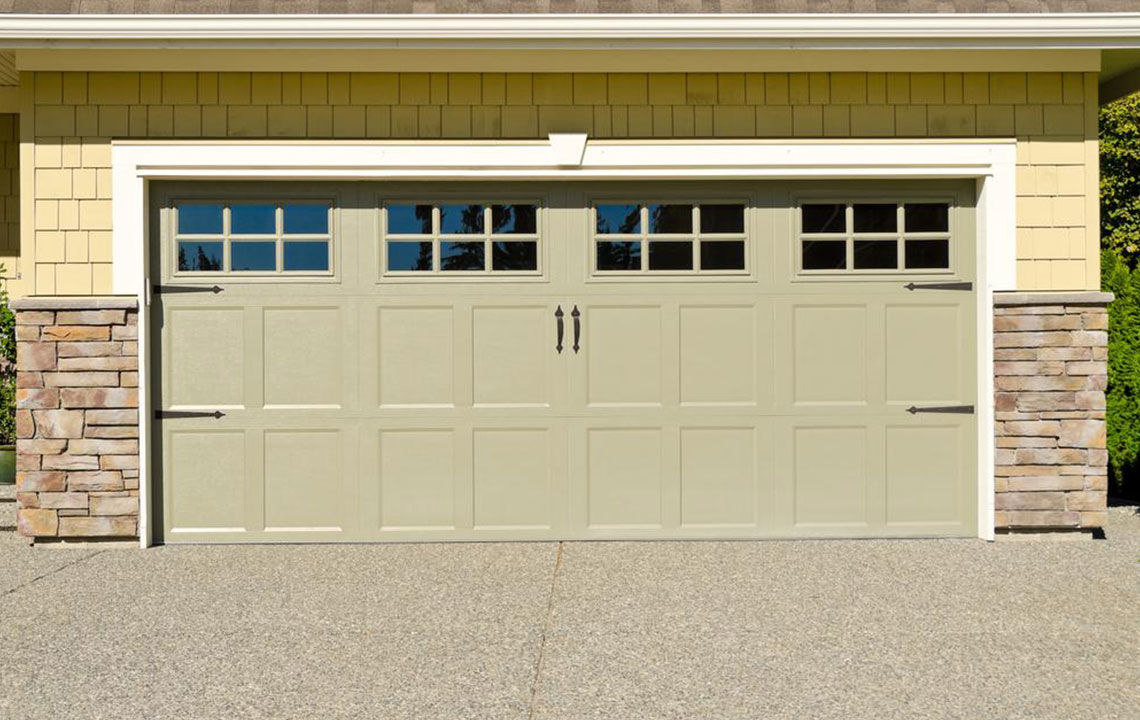
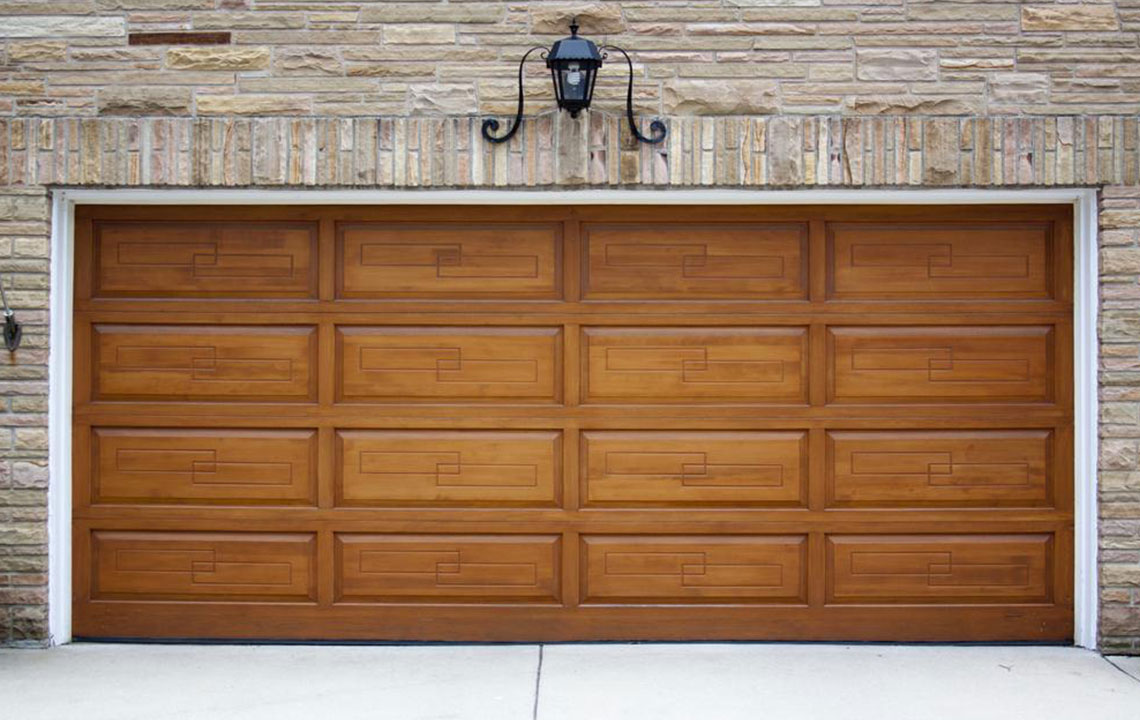
When updating your home, the garage door is often overlooked, but it can significantly enhance curb appeal. If you're considering replacing garage door panels and need guidance, start by identifying trusted manufacturers. Whether you're looking for new panels or nearby repair services, an online search can help find reliable options.
Follow these key steps to effectively replace garage door panels:
Order the Panels
Knowing the manufacturer of your current garage door is essential before ordering replacement panels. For older models, contact the manufacturer to ensure compatibility.
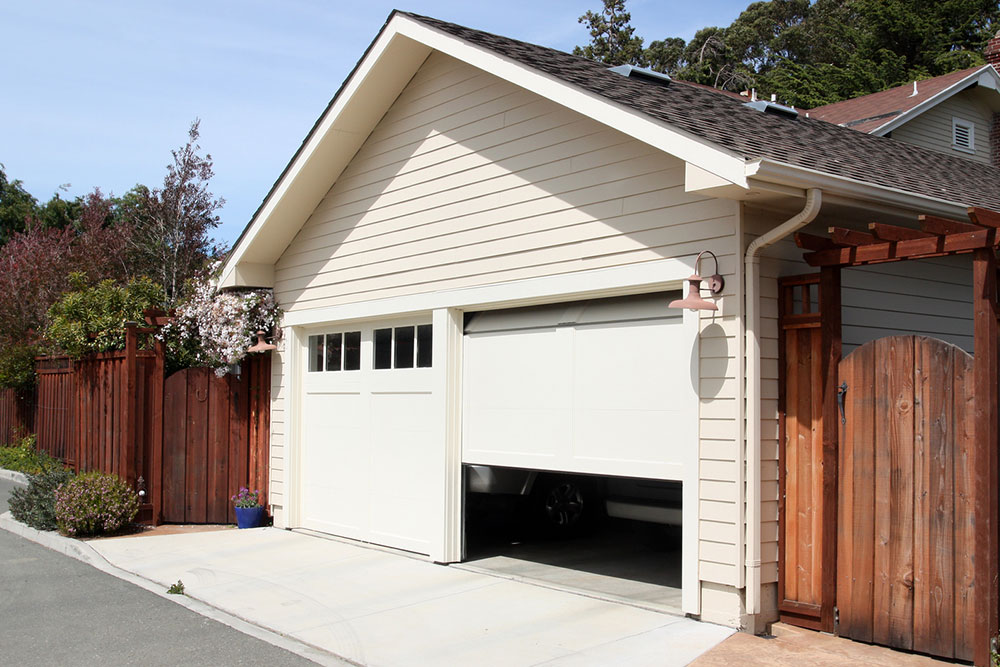
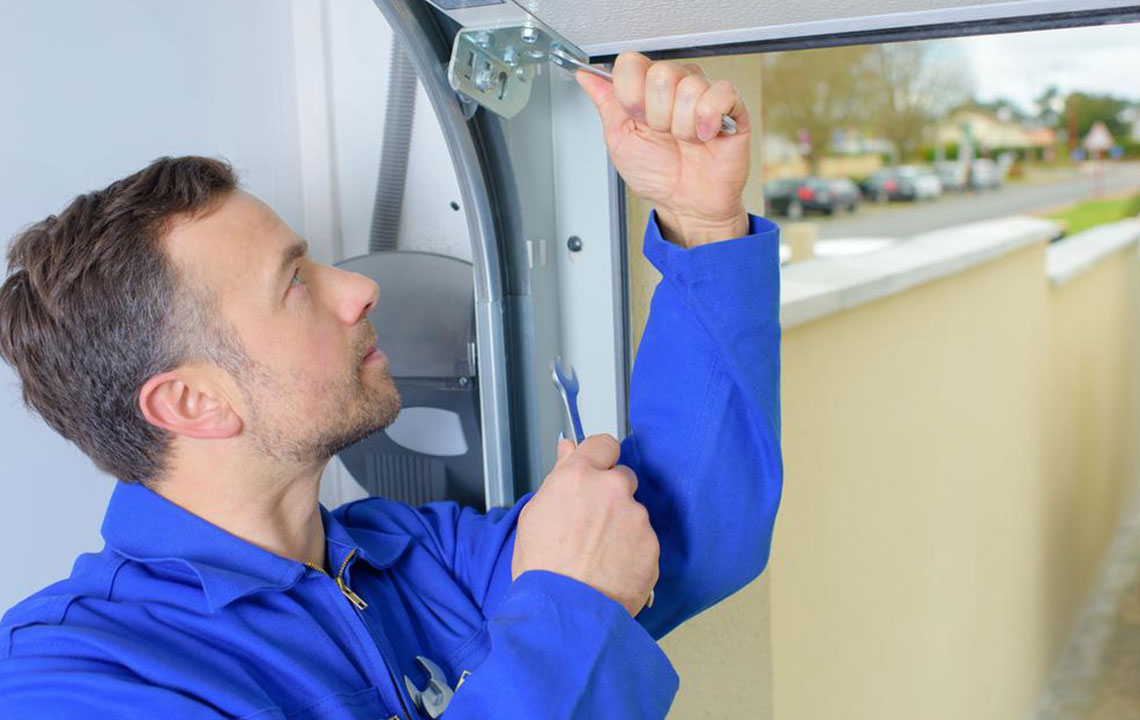
Remove the Old Panels
Unplug the garage door opener and manually open the door. Carefully detach the springs and remove panels, starting from the top or the panel needing replacement, by loosening bolts and lifting the panel off the track to avoid accidents.
Install the New Panel
Align the new panel by sliding rollers into the track, then secure it with screws or bolts to adjacent panels. Repeat the process for remaining panels, ensuring all fastenings and springs are properly installed. Test the door by operating the opener to ensure smooth functionality.
Note: Our blog offers useful insights across various topics. While we strive for accuracy, please verify details independently, as data discrepancies or updates may occur. The site is not responsible for external variations or promotional schemes not covered here.