Essential Guide to Proper Tile Installation and Choosing Skilled Professionals
This comprehensive guide covers essential tips for successful tile installation and selecting qualified professionals. It emphasizes planning, understanding materials, gathering recommendations, and budgeting, ensuring homeowners achieve high-quality results. Whether undertaking a DIY project or hiring experts, clear steps and knowledge help secure durable, aesthetic tiled surfaces, making renovation projects efficient and cost-effective.
Essential Guide to Proper Tile Installation and Choosing Skilled Professionals
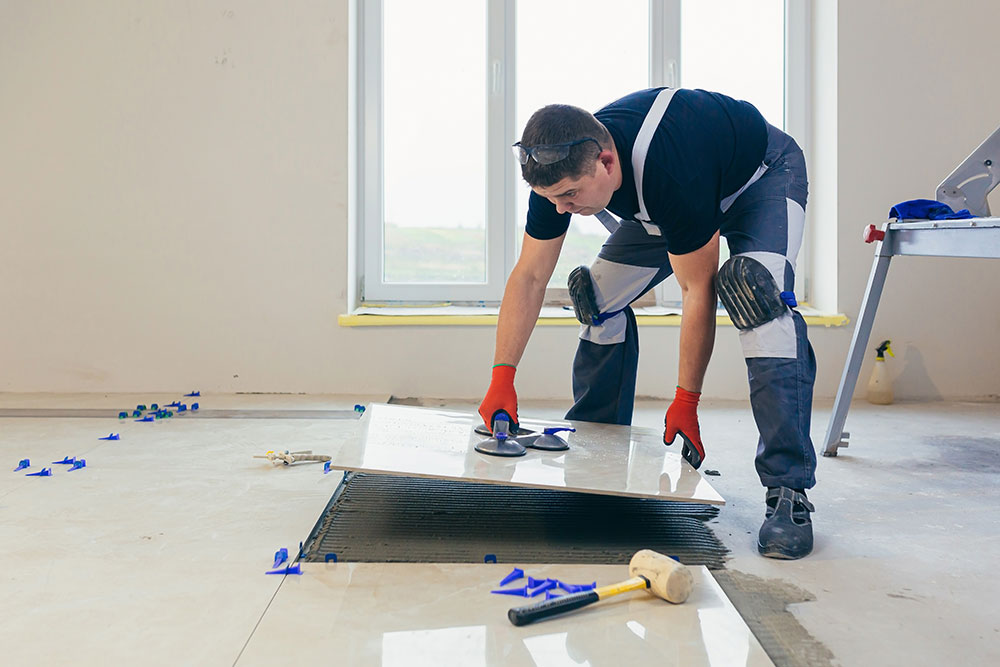
Laying floor tiles is a crucial part of home renovations, whether you opt for a DIY approach or hire expert installers. Proper planning and understanding of the process are vital to achieve the desired outcome. When hiring professionals, verifying their expertise ensures quality results and value for money.
1. Clarify Your Needs
Defining your project requirements upfront helps ensure smooth execution, including surface repairs, timeline estimates, and specific design preferences. Clear expectations enable selecting specialists with the right skills for your project.
This involves assessing whether the surface needs repairs or prep work before tiling and estimating how long the project will take. Having a detailed plan simplifies decision-making and helps find professionals experienced in your specific needs.
2. Understand Tile Materials and Accessories
Knowledge of various materials enhances confidence in selecting the right choices for your project.
Tiles
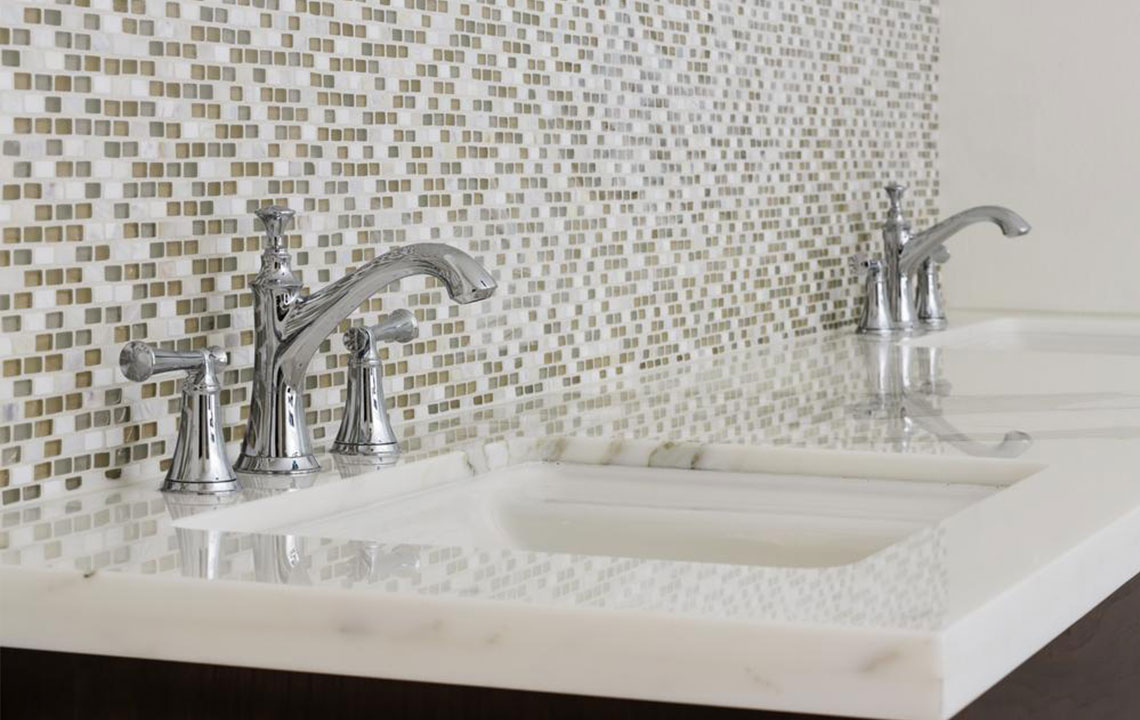
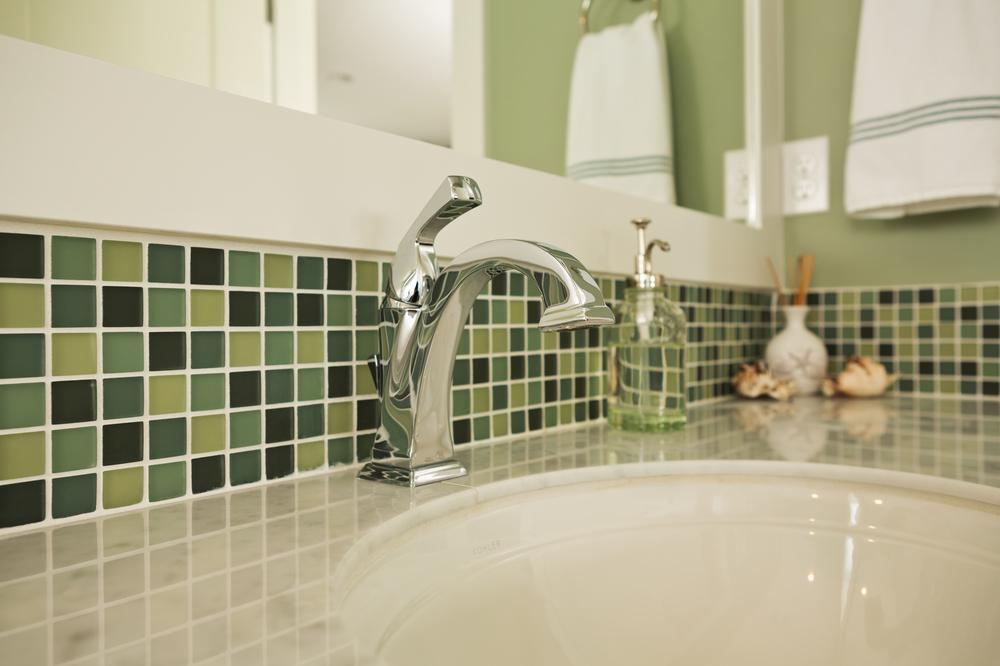
Options include ceramic, porcelain, marble, stone, and cement tiles, available in various styles like herringbone, subway, mosaic, chevron, and basket weave, each suited to different applications.
Adhesives and Mortar
Different adhesives, such as organic mastic, epoxy, and thin-set mortar, are used depending on tile type. For instance, thin-set mortar is ideal for ceramic and stone tiles.
Grout
Fills gaps between tiles and influences the overall look and durability of the finished surface.
Sealer
Protects grout and natural stone tiles from staining and wear.
Caulk
Seals edges and gaps between tiles and walls or fixtures.
Backer Board
Provides a sturdy base surface, ensuring longer-lasting installation.
3. Essential Tools for Tile Installation
Having the right tools ensures precision and efficiency during installation.
Tile Cutter
For scoring and snapping tiles, especially ceramics.
Diamond Tile Saw
Ideal for cutting hard materials like marble and stone, embedded with diamond blades.
Grout Float
Used for applying grout into the joints smoothly.
Notched Trowel
Spreads tile adhesive evenly across surfaces.
Tile Saw
Suitable for detailed cuts on various tile materials.
4. Seek Recommendations and References
Gathering firsthand experiences from friends, family, or neighbors can help locate reputable contractors and suppliers. Recommendations often lead to reliable services and quality materials.
Reaching out to trusted sources for references ensures you choose experienced professionals and quality materials for your tile project.
5. Budget and Cost Considerations
Costs vary based on materials, surface preparation, and labor. DIY may cut expenses but risks costly errors if not experienced. Hiring licensed installers ensures quality and can be more cost-effective in the long run.
Expect to pay approximately $5 to $45 per square foot for installation, with labor costs around $30 to $120 per hour depending on complexity and tile type. Overall project costs typically range from $800 to $3,000, influenced by area size, tile choice, and additional prep work.