Essential Steps for Building an Outdoor Storage Shed
Learn how to build a durable and visually appealing outdoor storage shed with this step-by-step guide. It covers material selection, permits, site preparation, construction steps, and cost estimates. Perfect for DIY enthusiasts seeking practical storage solutions to optimize space and organization in their yard.
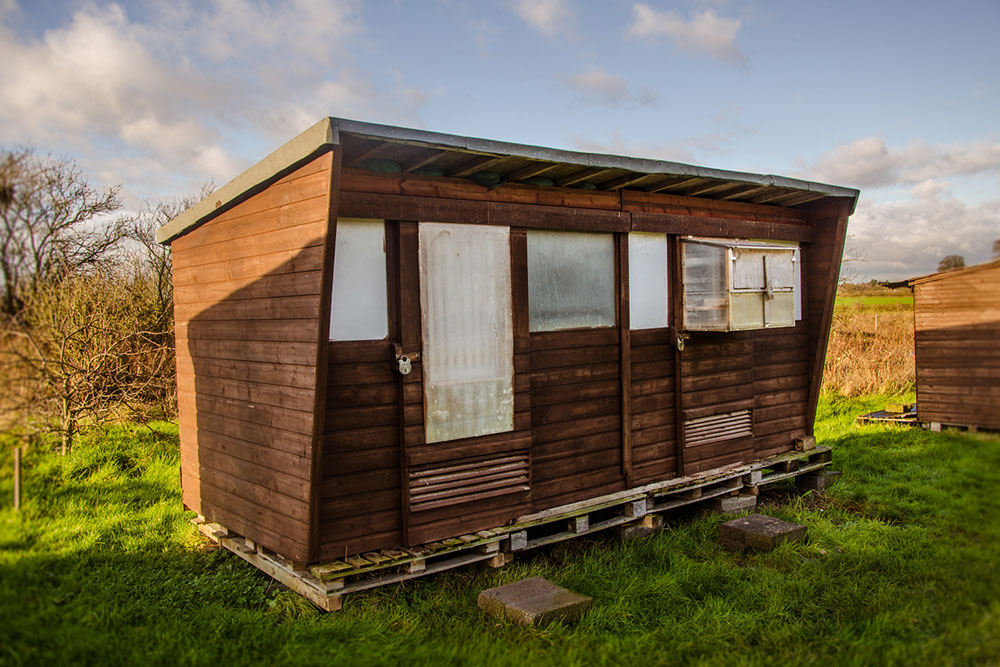
Essential Steps for Building an Outdoor Storage Shed
Creating an outdoor storage shed is an effective way to free indoor space by organizing tools, equipment, and bulky items like lawnmowers or small vehicles. A shed should combine practicality with visual appeal. Fortunately, building one is manageable as a DIY project with proper planning and knowledge of key steps.
Tips for constructing an outdoor shed
1. Select Appropriate Materials
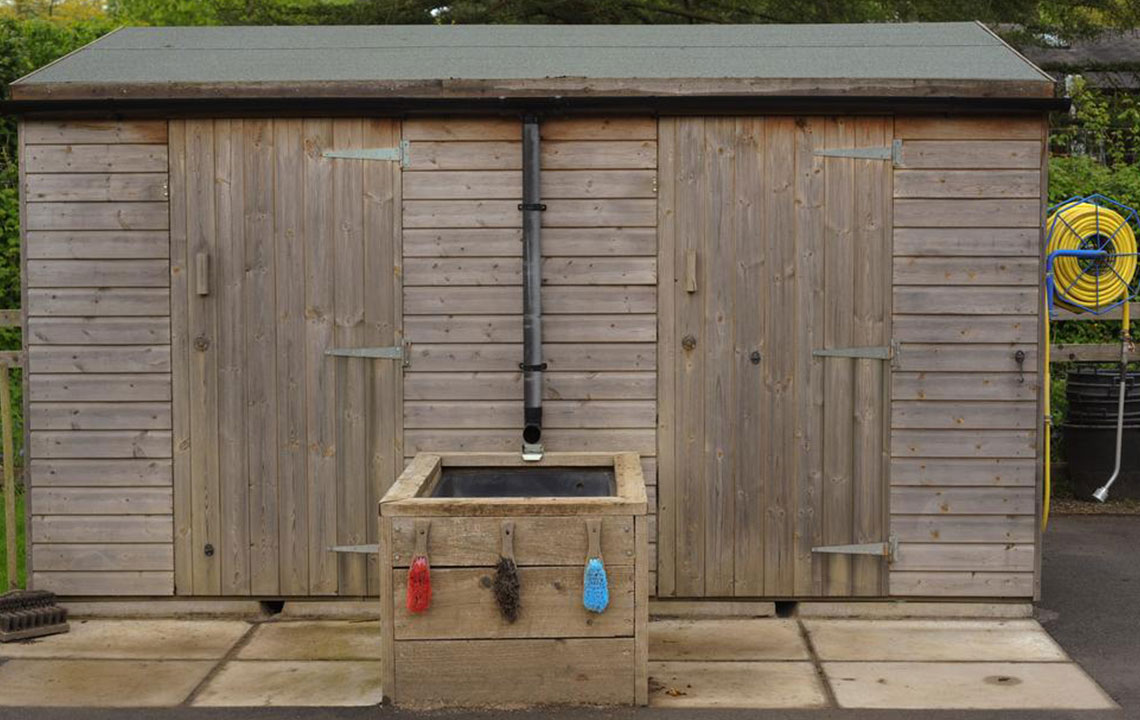
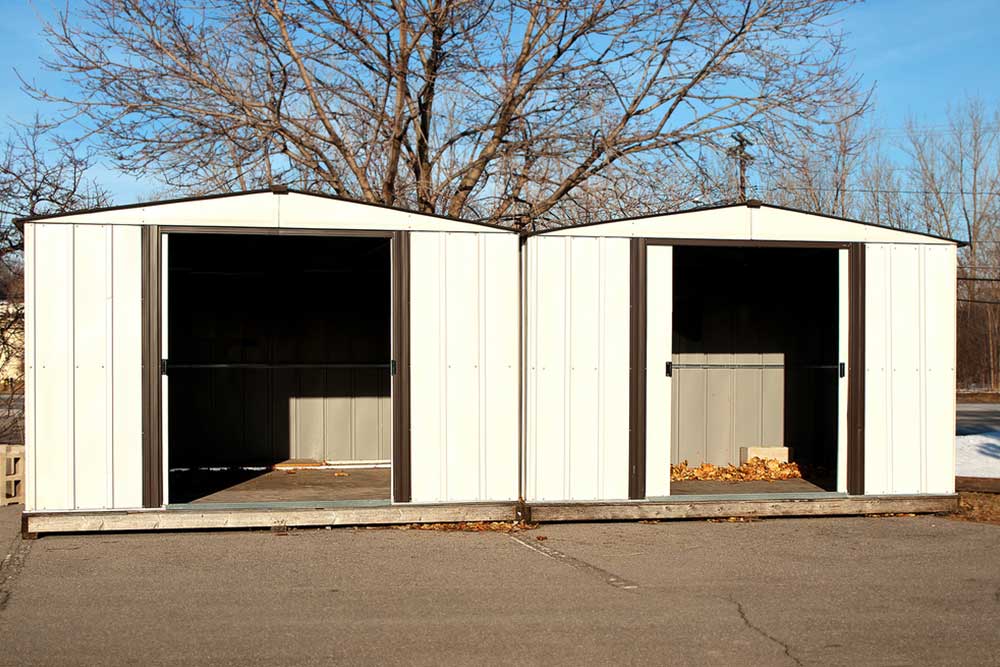
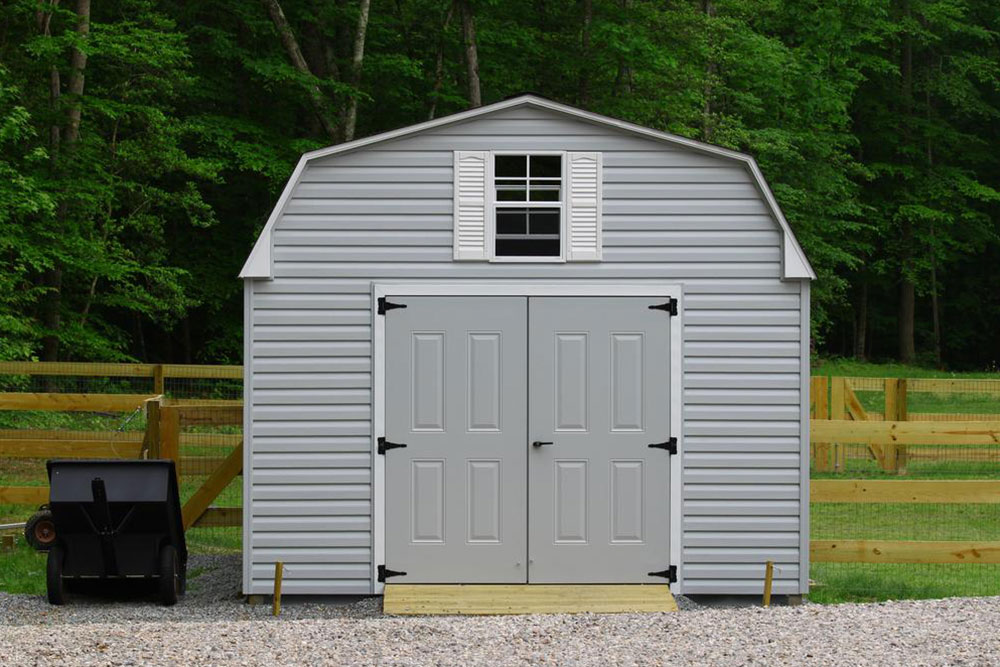
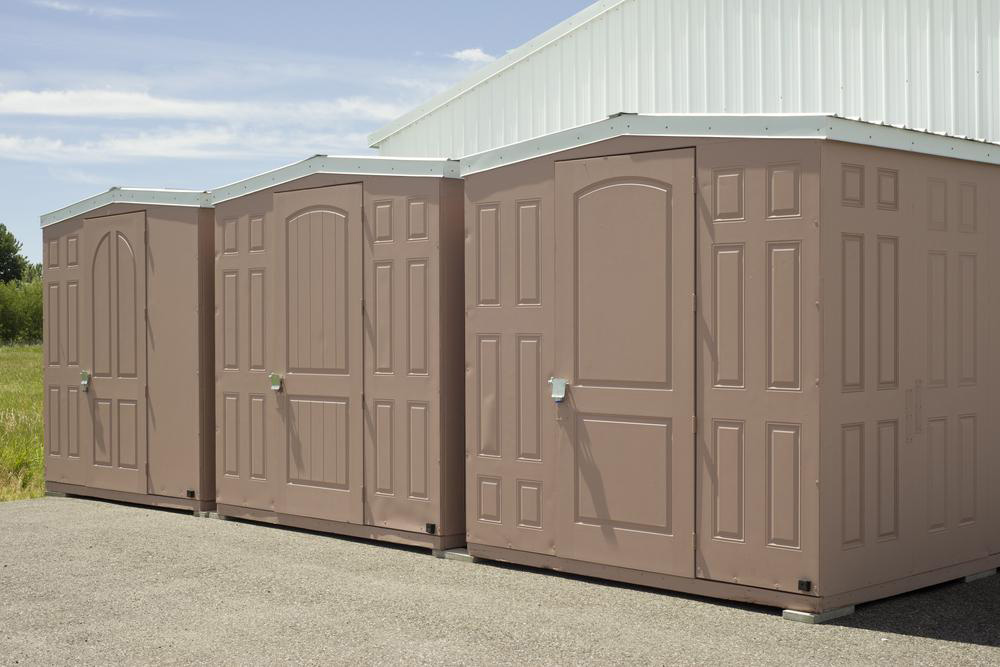
Resin, metal, and wood are popular options for outdoor sheds, chosen for durability against weather. Wooden sheds are easiest to customize and paint, while resin and metal options resist rust and pests. Balance advantages like weather resistance and sturdiness when choosing your material.
2. Obtain Necessary Permits
Many local authorities require permits before construction, especially for sheds over a certain size or height. Check with your city or county to ensure compliance with building codes and avoid potential fines or removals.
3. Prepare the Construction Site
Clear the designated area of debris, grass, and stones. Ensure the ground is level with proper drainage. Mark the shed’s perimeter using stakes and strings, and verify measurements with a level to ensure accuracy before starting assembly.
4. Gather Essential Tools
Assemble a toolkit including a saw, drill, hammer, clamps, level, tape measure, chalk line, and safety gear. These tools are crucial for precise construction and safety during building.
5. Build a Stable Foundation
A sturdy foundation ensures longevity. Use concrete blocks, gravel, or pavers, secured with construction adhesive if needed, to create a firm base for the shed.
6. Install a Floor Frame
Construct a raised floor frame from treated lumber, attaching it securely to the foundation. For larger sheds, concrete slabs or gravel bases are recommended to provide stability and support.
7. Frame and Erect Walls
Cut and assemble wall frames with spaces for doors and windows. Attach the walls to the platform, aligning with markings, and ensure the structure is square by measuring diagonals. Prepare for siding installation afterward.
8. Construct the Roof and Doors
Build and attach the roof frame to support roofing materials, shaping a slope for water runoff. Construct doors by assembling frames and adding hardware. Apply roofing underlayment like tar paper to seal against weather.
9. Add Ventilation and Finishing Touches
Install soffits under the roof overhang to improve ventilation, protect roof rafters, and enhance aesthetics. Secure all components carefully for a polished look. Consider professional assistance for complex steps.
Cost Considerations
In Canada, building an outdoor shed costs between $1,000 and $10,000. Resin and wooden sheds may cost $40–$50 per sq ft for materials, while metal sheds typically range from $25–$30 per sq ft, excluding labor. Budget varies based on material choices and additional features such as windows or flooring. It’s important to plan carefully to include all expenses.