How to Replace Garage Door Torsion and Extension Springs
Discover essential tips on replacing garage door springs, including torsion and extension types. Learn when and how to replace broken springs safely and efficiently, whether you choose DIY or professional help. Ensure your garage door operates smoothly and safely with our comprehensive guide.
How to Replace Garage Door Torsion and Extension Springs
Replacing garage door springs typically involves swapping out the entire set of springs. These springs work tirelessly until they eventually break due to wear and tear. Although they are not part of the garage door opener, springs are essential to the door's operation, making lifting and lowering much easier. Over time, weather conditions weaken the metal, causing the springs to fail. The replacement process depends mainly on the spring type and whether you plan a DIY fix or hire a professional.
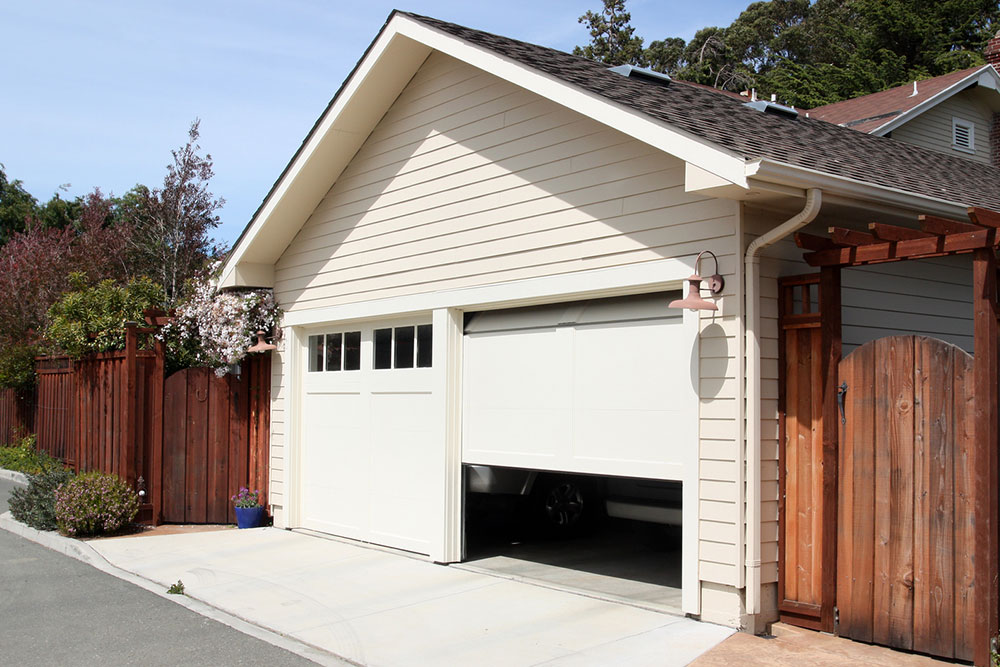
Many homeowners only realize their springs are broken when the door becomes extremely hard to lift or when the automatic opener works noisily and unevenly. Usually, one spring breaks at a time, making the door feel unexpectedly heavy since it can weigh hundreds of pounds.
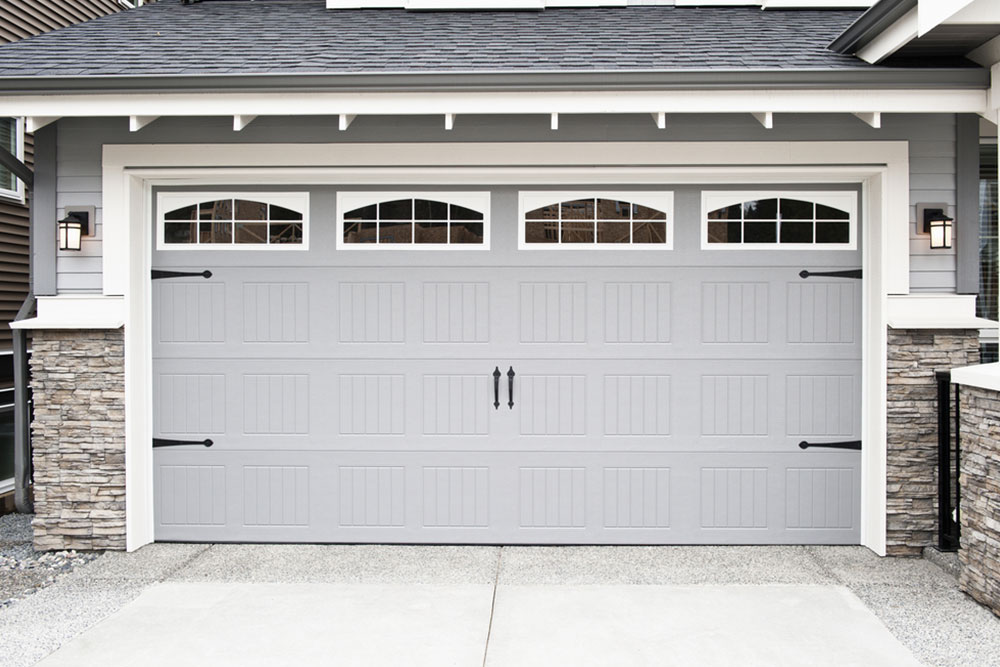
Springs break when under heavy load or tension. A broken spring often makes a loud bang, similar to a gunshot, but pinpointing the exact source can be tricky. The heavy door is a key indicator of spring failure. Common residential springs include torsion springs, mounted on a metal rod above the door, which use twisting tension; and extension springs, mounted along the track and requiring safety cables for secure operation.
Note:
Our blog offers practical and insightful information across various topics. While we strive for accuracy, readers should consider our content as informational rather than definitive. The website team is not responsible for discrepancies or inaccuracies from other sources. Additionally, some offers or schemes might not be included here but could be more advantageous for the reader.