A Step-by-Step Guide to Designing Custom Embroidered Patches
Learn how to create personalized embroidered patches with this easy four-step guide. From selecting the right size and shape to finalizing an impactful design, enhance your apparel with custom patches that reflect your unique style. Follow these tips to ensure professional-quality results and stay inspired by current trends. Perfect for personal use or branding, this guide makes patch creation simple and fun.
A Step-by-Step Guide to Designing Custom Embroidered Patches
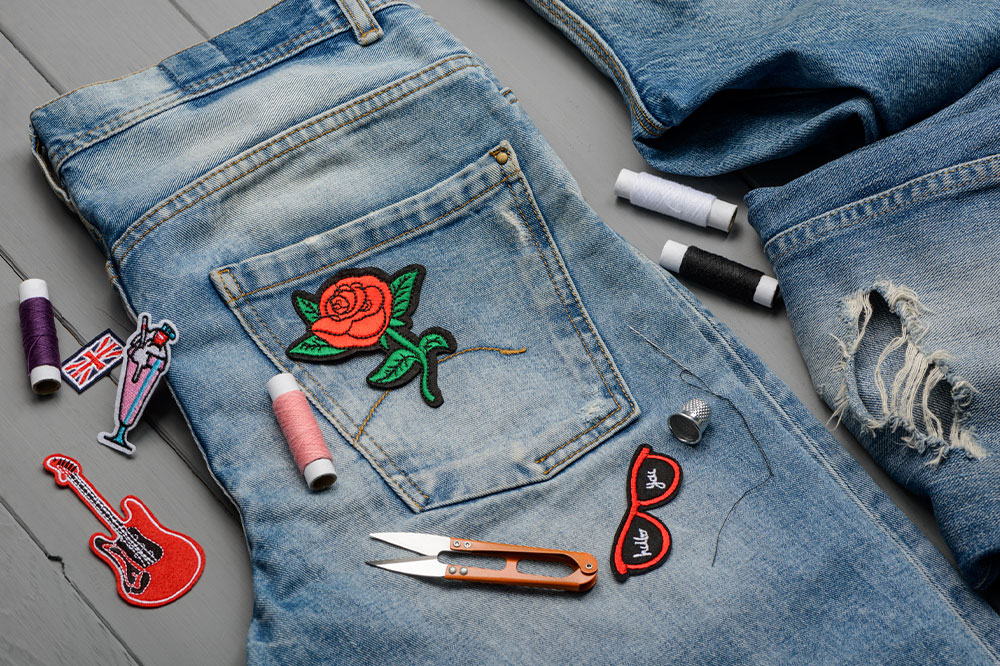
Looking to elevate your wardrobe with unique embroidered patches? These versatile accessories are perfect for customizing jeans, jackets, hats, and more. Not only are they trendy, but they also add a personalized touch to any apparel. If you want to create your own embroidered patches, follow these four simple steps to ensure professional results:
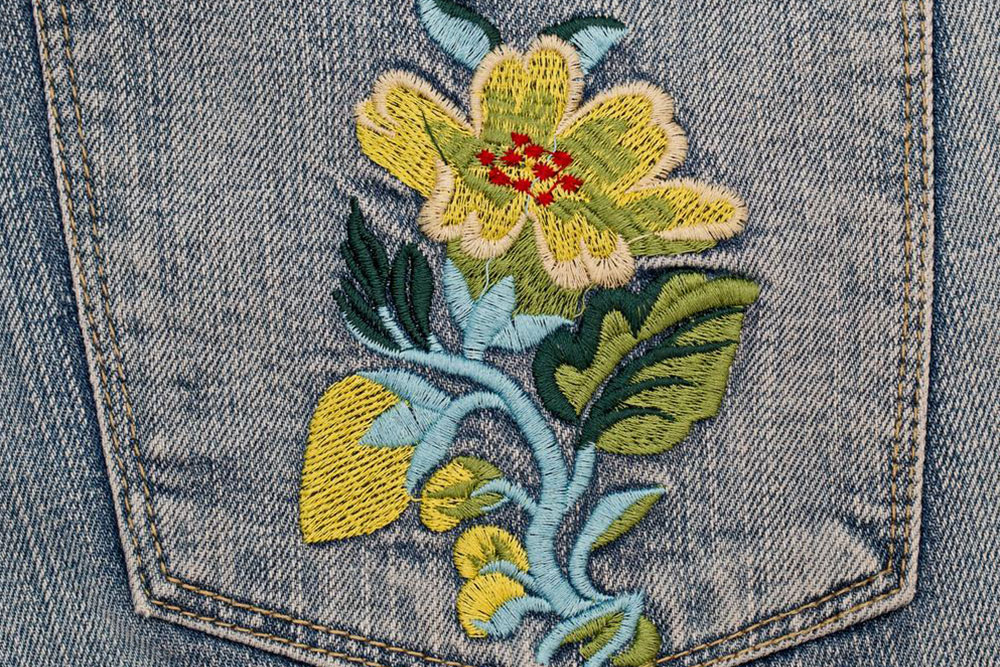
Select the appropriate size – The size should match the item you plan to adorn. For small items like hats or jeans, 2 to 4 inches works well. For larger applications such as back patches, opt for 8 to 12 inches.
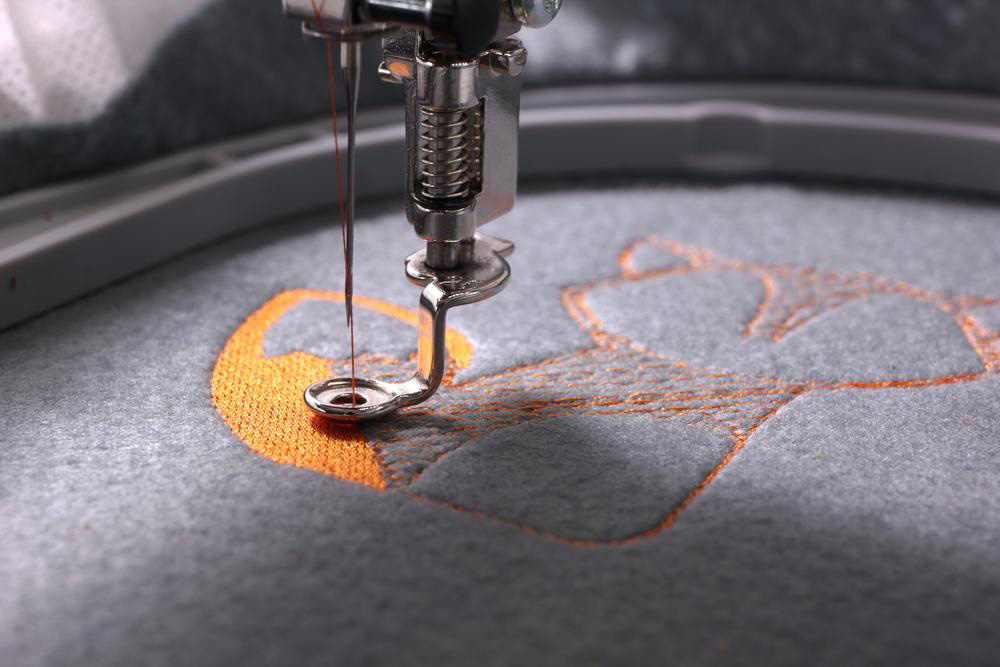
Choose a shape – With the size decided, determine the shape. Common options include circles, squares, and ovals. For simple designs, pre-made patches are available, where you just upload your custom design.
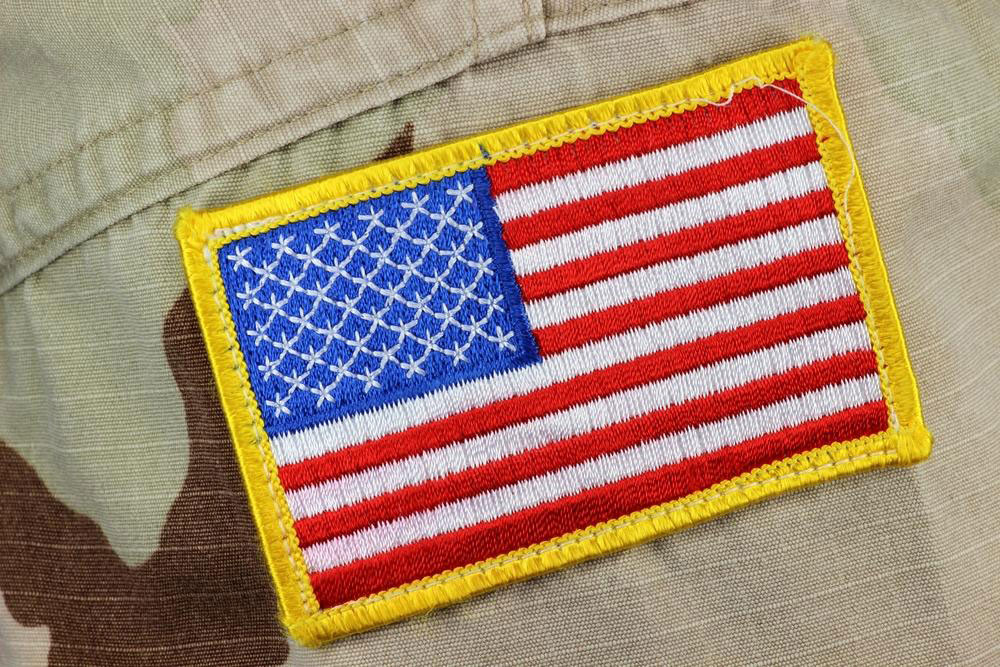
Define your concept clearly – Typically, patches display logos, symbols, or messages. Clarify what you want to communicate through your design. Providing photos or text to your designer helps bring your idea to life.
Lock in the design – Keep the design simple; avoid clutter. Focus on one idea, perhaps a quote or a character, and create a clean sketch for your designer. This ensures your patch looks polished and distinctive. Personal patches can reflect favorite quotes, images, or doodles.
Prepare thoroughly, and be precise about your vision. Stay updated with current design trends for inspiration. Once your concept is clear, the process becomes much smoother.