Effective Strategies for Removing Periwinkle from Your Garden
Discover effective methods to control and eliminate invasive periwinkle plants from your garden. From manual removal of young plants to professional eradication services, learn practical strategies to prevent spread and restore your garden's health. The article emphasizes eco-friendly approaches and safe chemical application to manage this resilient weed effectively. Regular maintenance, covering techniques, and expert help are highlighted as key steps for successful removal, ensuring a lush and healthy garden environment.
Effective Strategies for Removing Periwinkle from Your Garden
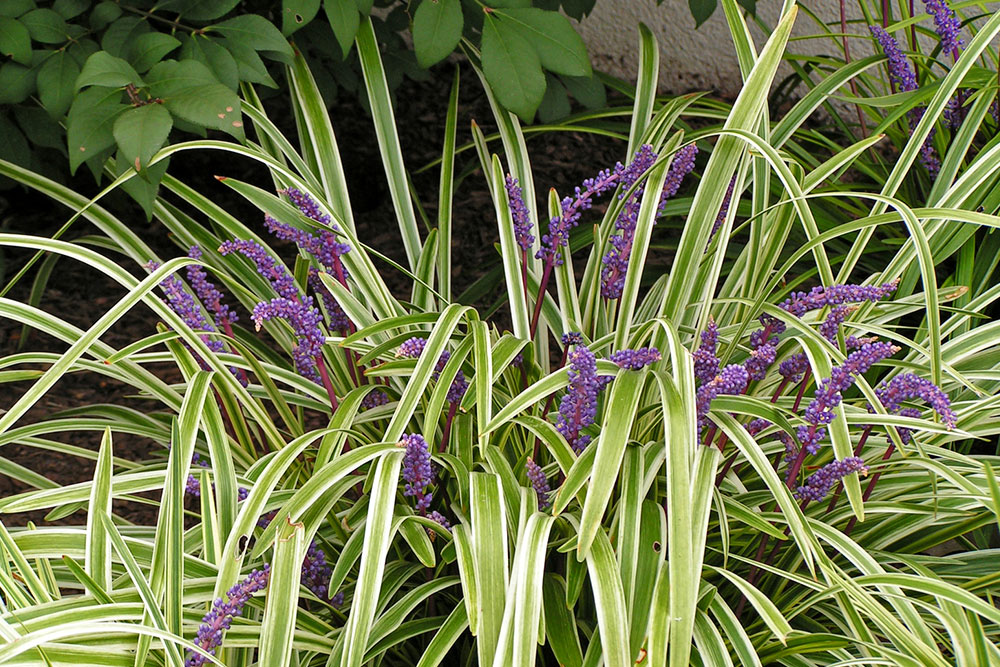
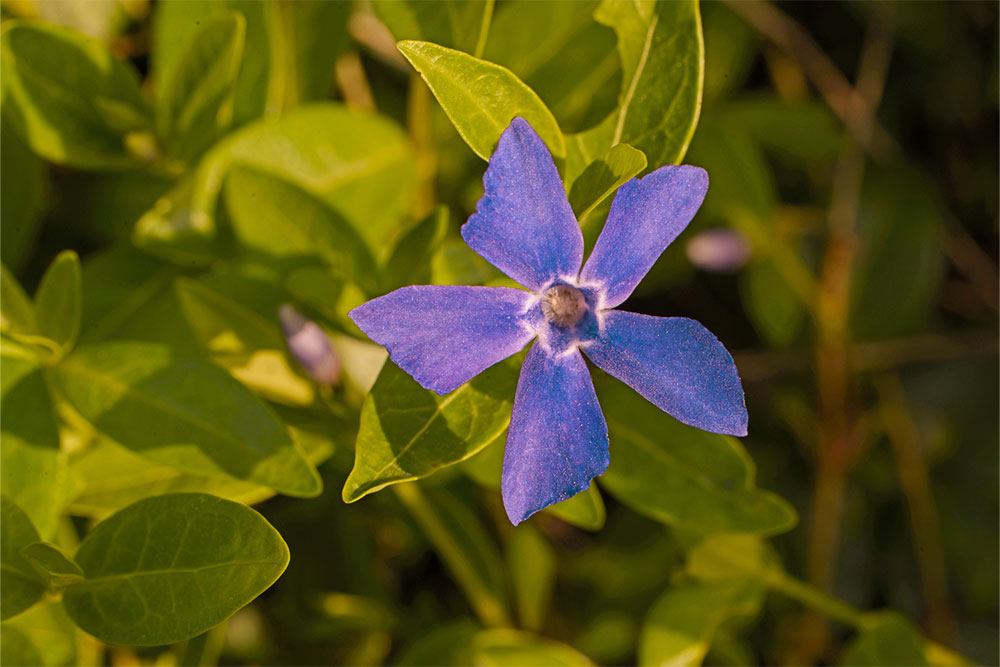
Periwinkle is an invasive weed that can quickly dominate garden spaces, crowding out native plants. Despite its attractive purple flowers and lush green leaves, it can damage ecosystems and harbor pests. Therefore, it’s important to control and eliminate this resilient plant. Removing periwinkle requires persistent effort due to its deep-rooted growth. By using a combination of manual and chemical methods, gardeners can effectively manage and eradicate this persistent weed.
1. Pull Out Young Plants
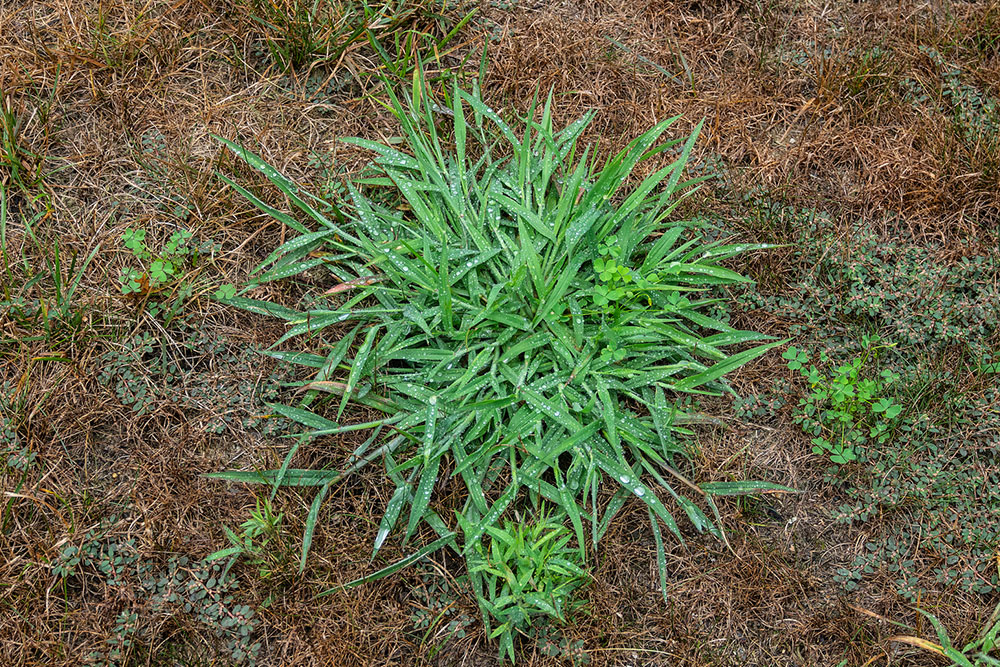
Uprooting small, freshly sprouted periwinkle is one of the safest methods to eliminate it. This approach is most effective before the roots grow deep, usually less than a few inches underground. Mature plants develop extensive root systems, making manual removal more challenging. Nonetheless, removing young plants prevents further spread and minimizes damage to surrounding flora.
Manual pulling is labor-intensive but eco-friendly, avoiding chemicals and protecting neighboring plants. Persistency is key to preventing regrowth, especially with young, tender sprouts.
2. Cut and Dig Out Roots
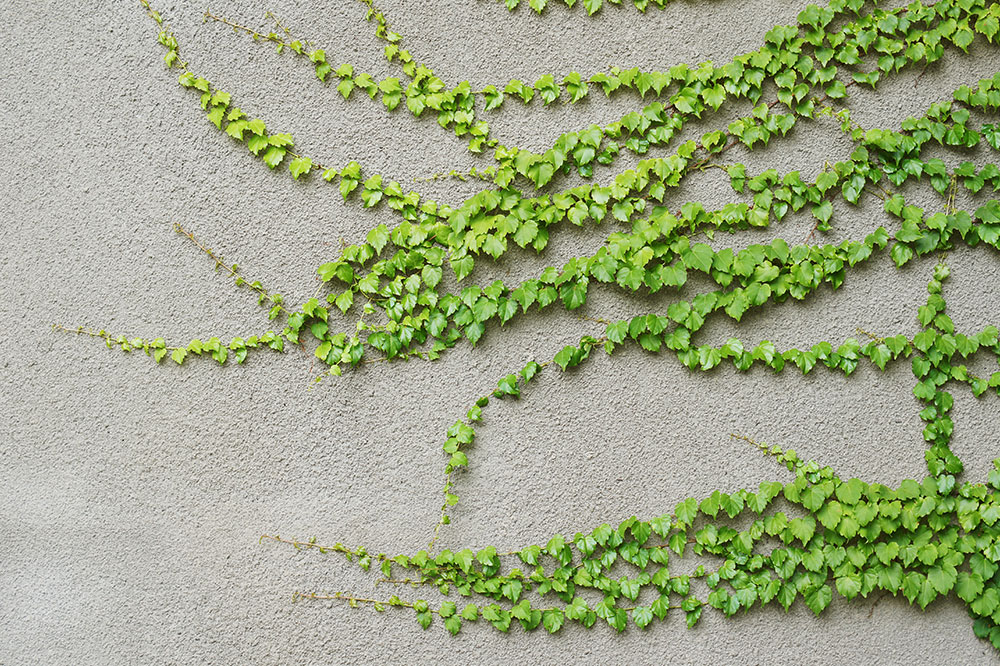
When periwinkle has extensively covered an area, cutting the vines at ground level is just the first step. To ensure complete removal, possess tools like sickles or trimmers to cut the plants. Then, dig deep trenches to extract roots, which can reach over three feet underground in mature plants. This prevents regrowth and effectively reduces the weed’s spread.
Digging helps loosen soil and exposes roots for removal. Be sure to clear all fragments to stop the plant from regenerating.
3. Discard All Plant Residues
After removing periwinkle, it’s crucial to clean up all plant debris. Even small broken pieces can root and sprout anew. Collect cuttings, vines, and roots carefully in a trash bag or container and dispose of them properly, preventing accidental propagation.
4. Apply Targeted Herbicides
In cases of widespread infestation, herbicides can be effective. Use oil-based or systemic herbicides, as water-repellent leaves make water-based solutions ineffective. Be cautious, as herbicides can impact desirable plants nearby. Always follow manufacturer instructions carefully to target only periwinkle and avoid collateral damage.
5. Maintain Regular Mowing
For large, flat spaces with minimal other vegetation, frequent mowing can suppress periwinkle growth. Regular cutting prevents rapid expansion and helps keep the weed in check. Consistency is vital to prevent it from dominating the landscape.
6. Cover Infested Areas
Another effective method is covering the affected zone with opaque materials like tarps or cardboard. This blocks sunlight, stopping photosynthesis and eventually killing the plants. Ensure neighboring plants are not affected and allow several months for full eradication.
7. Seek Professional Assistance
For large or stubborn infestations, hiring a professional removal service may be the best course of action. Experts have the tools and experience to safely eradicate periwinkle without harming other plants or soil health. They often use targeted chemical treatments or environmentally friendly methods, ensuring efficient and safe removal.
Important Notice:
The information shared here is educational and should be considered as guidance. For persistent or extensive infestations, consulting a professional is recommended. Proper precautions during removal can prevent regrowth and protect your garden's health.