Ultimate Guide to Installing Ikea Outdoor Deck Tiles
Learn how to easily install Ikea outdoor deck tiles with our comprehensive guide. Whether DIY or professional, ensure a secure, stylish upgrade for your balcony or patio using simple steps. Durable, slip-resistant tiles make transforming your outdoor space effortless and safe, with tips on surface preparation, pattern design, and safety gear. Achieve a beautiful, functional area in minimal time and expense.

How to Install Ikea Outdoor Deck Tiles: Step-by-Step Guide
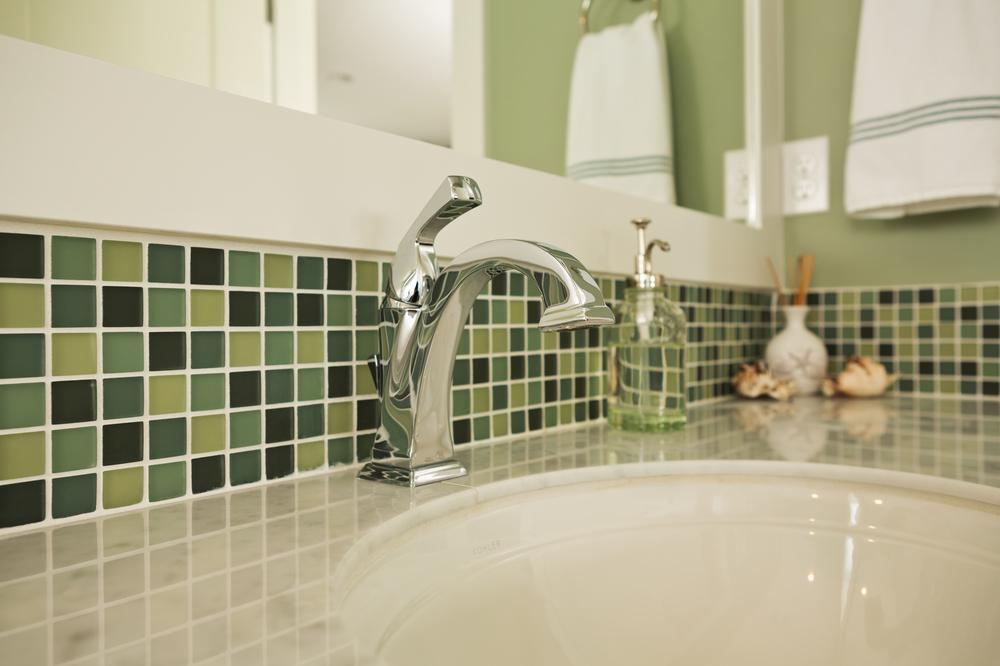
If you're upgrading your outdoor space, Ikea deck tiles are a stylish and practical solution for decks and balconies. Browse their wide selection to find options that match your style and budget.
Installing Ikea outdoor tiles quickly transforms your space into a beautiful, functional area. The process is straightforward, allowing DIY enthusiasts to lay the tiles without professional help. The tiles are durable, resistant to scratches, and non-slip, ensuring safety and longevity. To install on balconies, contact reputable local suppliers for quality products.
You’ll receive reliable, professional service for quick installation. Experienced technicians handle all aspects of the process, providing warranties and ensuring minimal disruption to your outdoor space. For DIY installation, prioritize safety—wear protective gear like gloves, safety glasses, masks, and full sleeves. Gather all necessary tools, including sharp carbide blades for cutting.
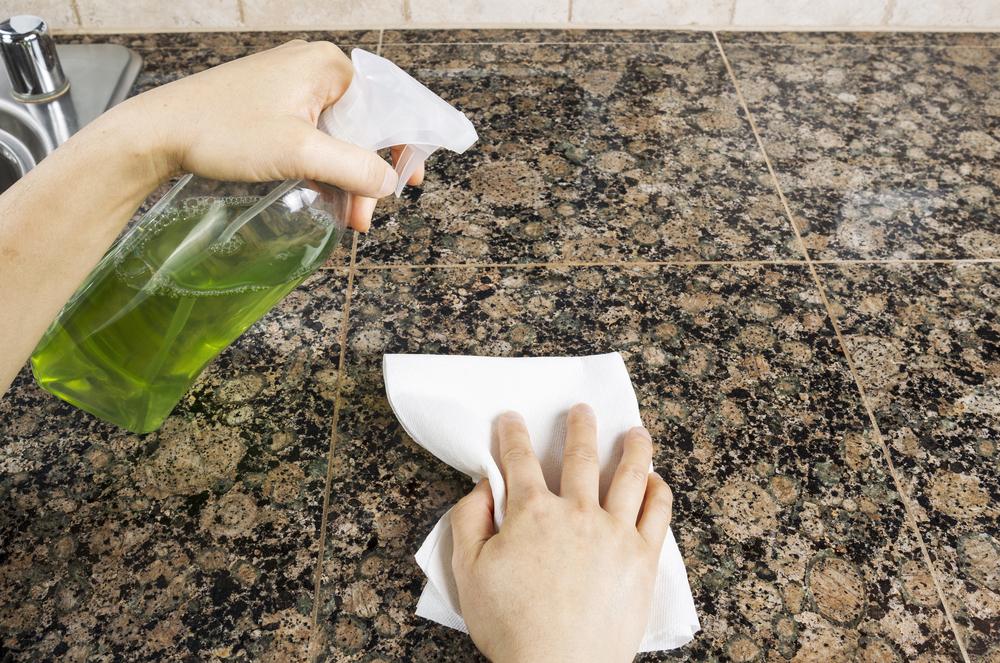
Ensure your surface is solid, level, and free from dirt or debris before beginning. Height differences should be leveled to create an even base. Ikea tiles feature interlocking edges that connect easily with connectors, simplifying the process. Start at a corner or edge, lay the first tile, then continue with the pattern you prefer, mixing styles if desired. Secure each tile firmly and complete the installation efficiently while maintaining safety standards.